key light: strongest, which will cast shadows
create:directional light
t on keyboard creates focus points
lightbulb icon also provides preview

shadows are quite dark, so need a fill light
ctrol D to copy first light, set second in opposite direction
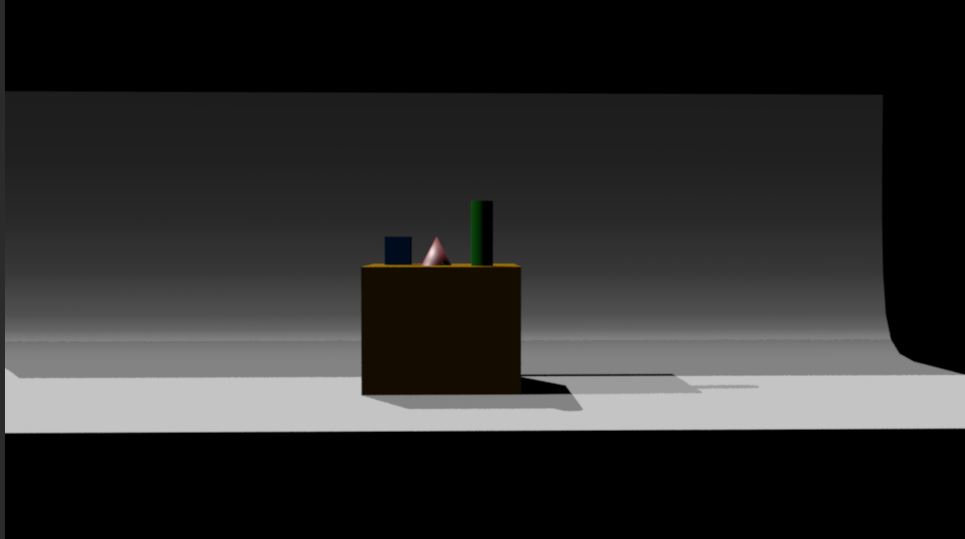
casting double shadows, so turn off shadows under shadow tab
ctrl D again to create third light , back or rim light, set up behind objects to give them slight
glow/highlight to pull them apart from the scene

windows: relationship editors:light linking: light centric to choose which light hits what object or character
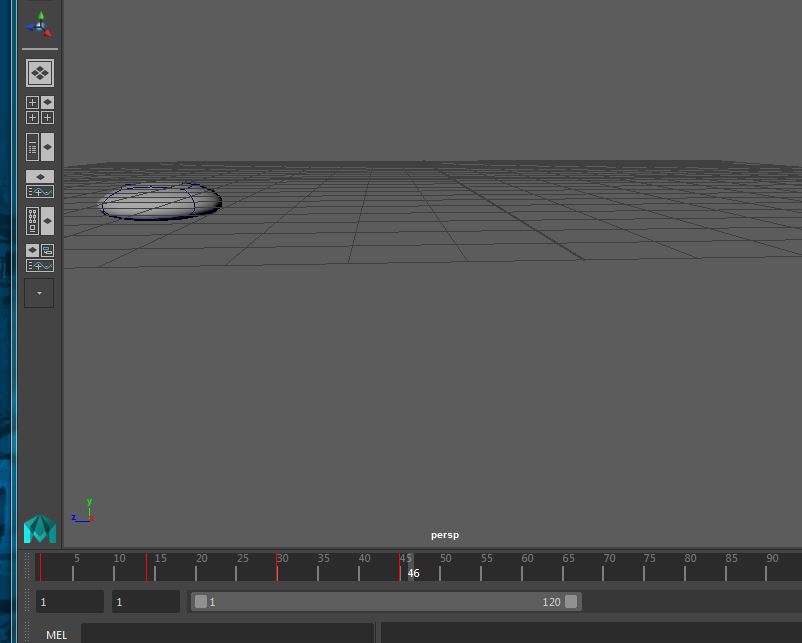
Blend Shapes
select original in object mode then delete by type history then modify freeze transformations
replicate from original shape twice
leave original, squash second shape, stretch third shape
select second shape then shift select original shape

choose windows, animation editor, blend shape to create first blend shape.
then under animation menu, choose anim deform, create blend shape, to create first slider for first blend shape. Return to objects. Select third shape (second copy) and then shift select original shape. under animation menu, choose anim deform, edit blend shape and add to create second slider which controls second blend. This will make two sliders with the separate blend movements on the original object. Delete the two copies of the object.

No comments:
Post a Comment