 |
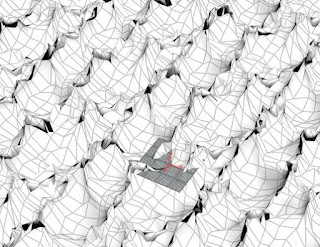
| grid adjusted low to let me decide size of UV map |
wind direction works around x to y in 360 degrees.
speed refers to how wind works through simulation
directional bias can force waves to move in a more uniform direction. keeping it low leaves the waves going up and down in place.
chop up or down controls choppiness or how high waves peak.
The more I deal with these kinds of aspects of the program, the more I think VFX is not for me. But that's also because I don't see anything FOR me in it, like I did with the cloth simulator. I may want to tell a story with water someday and I'll learn what I need to make it happen.
To properly render, you have to go into the ocean render node and choose export to texture tab and save to disk option. This bakes the displacement map to the grid. After baking is complete, you can then hit render anywhere along the ocean timeline.
To properly render, you have to go into the ocean render node and choose export to texture tab and save to disk option. This bakes the displacement map to the grid. After baking is complete, you can then hit render anywhere along the ocean timeline.
That looks much better than I would have thought!
textures are kept in shop. right click on obj to find the shop. then you'll see ocean surface and oceanvolume in the nodes but don't open them! just stay above in the material shader builder section. streak equals foam.
This is what happened after changing water colour, foam colour, whitecap intensity and height.


No comments:
Post a Comment